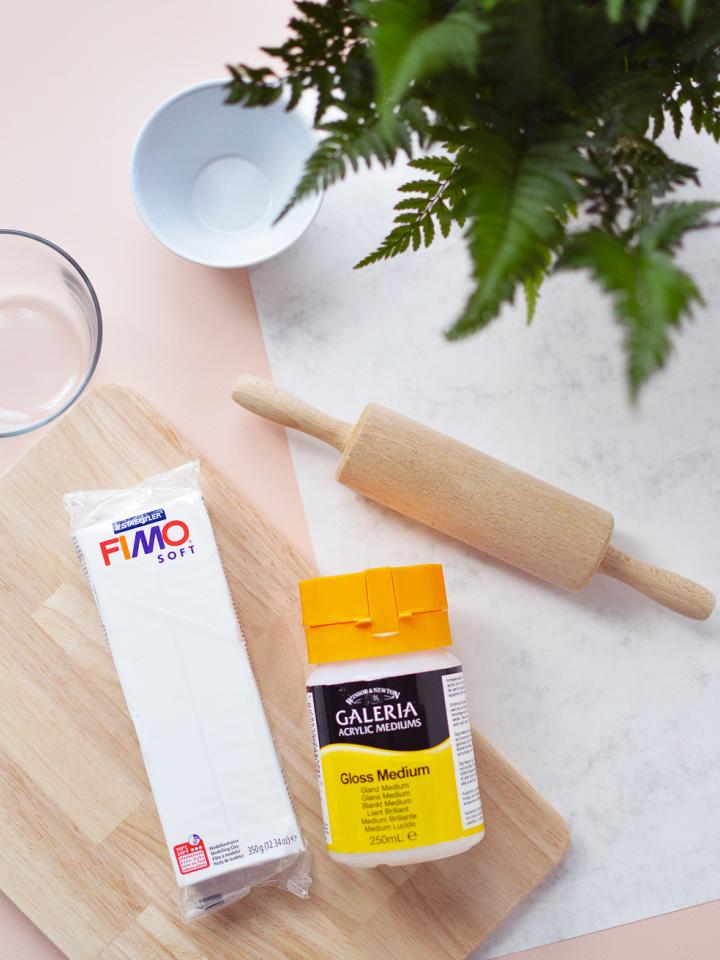
You will need:
- Oven bake clay
- Large cookie cutter or similar
- Artist glossy glaze
- Rolling pin
- Grease proof paper
- Pressed flowers and leaves

How To:
Step 1. Begin by turning on your oven to the temperature stated on the packet of clay. Then you can start rolling out the clay to approximately 0.5cm thick. Make sure to flip and turn the clay regularly to prevent it sticking to your surface.
Step 2. Cut out circles for your coasters (we used a large teacup for this) in your desired size and carefully place them on a greaseproof paper lined baking tray. The clay is very easily dented so take care when moving the coasters. If the edges aren’t neat you can use your finger to smooth them down, we also discovered gently tapping a blunt knife or spatula around the edges helps the coasters back into shape after moving them.
Step 3. Bake your coasters according to the clay instructions.
Step 4. Once completely cool apply a thin layer of glaze to the coasters with a paintbrush and stick on your dried flowers or leaves then leave to dry 1-2 hours.

To avoid your coasters sticking to anything when you place them down to dry simply roll up a ball of unbaked clay and press down slightly, then place your coaster down on the ball so that any glaze can drip off cleanly. Let dry for a full 24-48 hours - or as recommended by the brand of glaze you’re using and then repeat the process with a second layer of glaze if necessary.
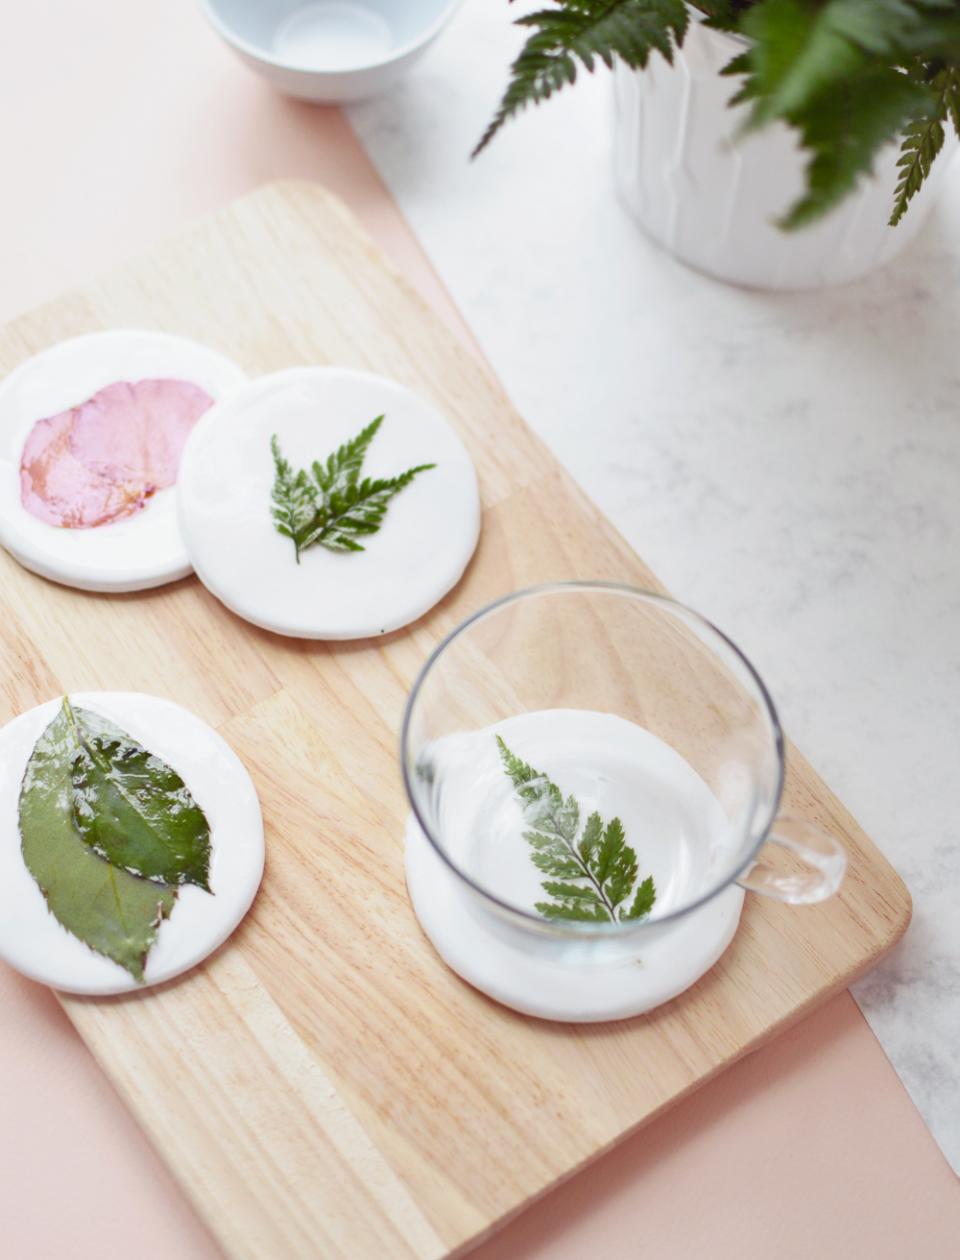
And there you have it! Homemade botanical coasters, the perfect gift or update to your coffee table. Give it a go. Share your creations with us on Twitter


