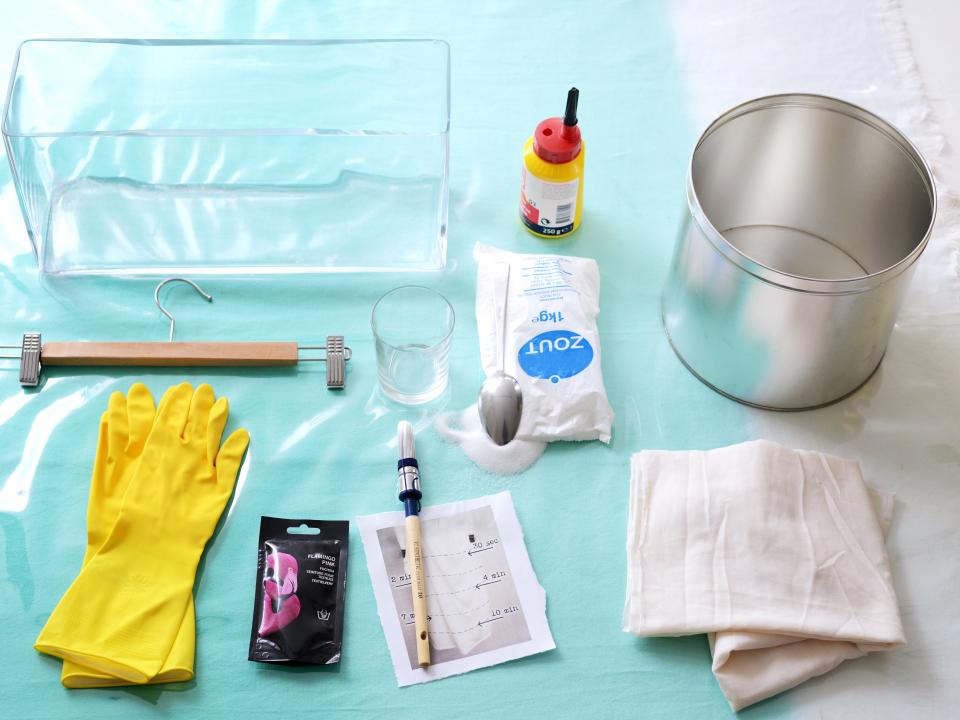
This is what you need:
-
Hibiscus
-
Glass tank vase or a bucket
-
Coat hanger with clamps (Ikea)
-
Tin that will fit the plant
-
Piece of cotton fabric, preferably washed so that it doesn’t shrink
-
Pot to mix the glue with water
-
Textile dye
-
Salt to add to the dye
-
Paintbrush
-
Scissors
-
Rubber gloves
 This is how you make it:

 Step 1:

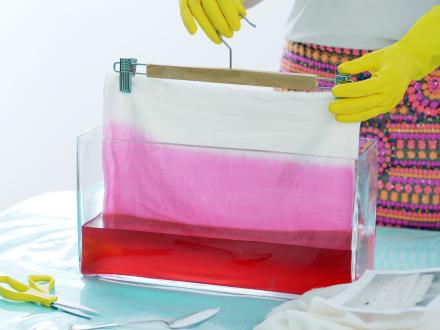
Fill the tank vase with dye according to the instructions. Cut the fabric to the width of the tin. Hang the longer side of the fabric on the coat hanger. Put the rubber gloves on and lower the bottom half of the fabric into the dye. Take the fabric out after 1 minute and then lower the fabric a bit further into the dye. After 5 minutes take the fabric out of the dye again and then lower it even further into the dye. You do this until the whole fabric is coloured in stages. A tip: attach the hanger to a string hanging from something, so that you don’t have to hold the fabric the whole time.
 Step 2:

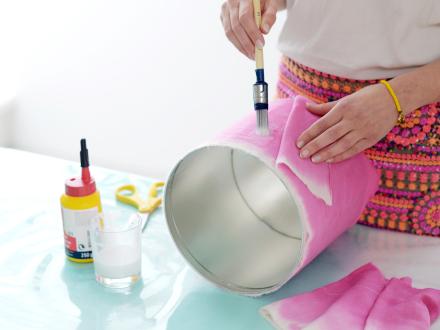
Let the coloured fabric dry. Then mix the glue with the water in the pot. Cover the whole tin with the glue mixture and stick the fabric to the tin. Make sure that the end of the fabric is glued securely so that it can’t come loose.
Step 3:
Your dip dye pot is now ready! Now all you have to do is put your Hibiscus in it. It will look best if the edge of the plastic plant pot is at the same height as the edge of the tin. You could put stones, or something else in the bottom of the tin to fill it up.
Radiant plant, radiant pot.


